How to Create a Beautiful Custom Photo Wall with Metal Prints 

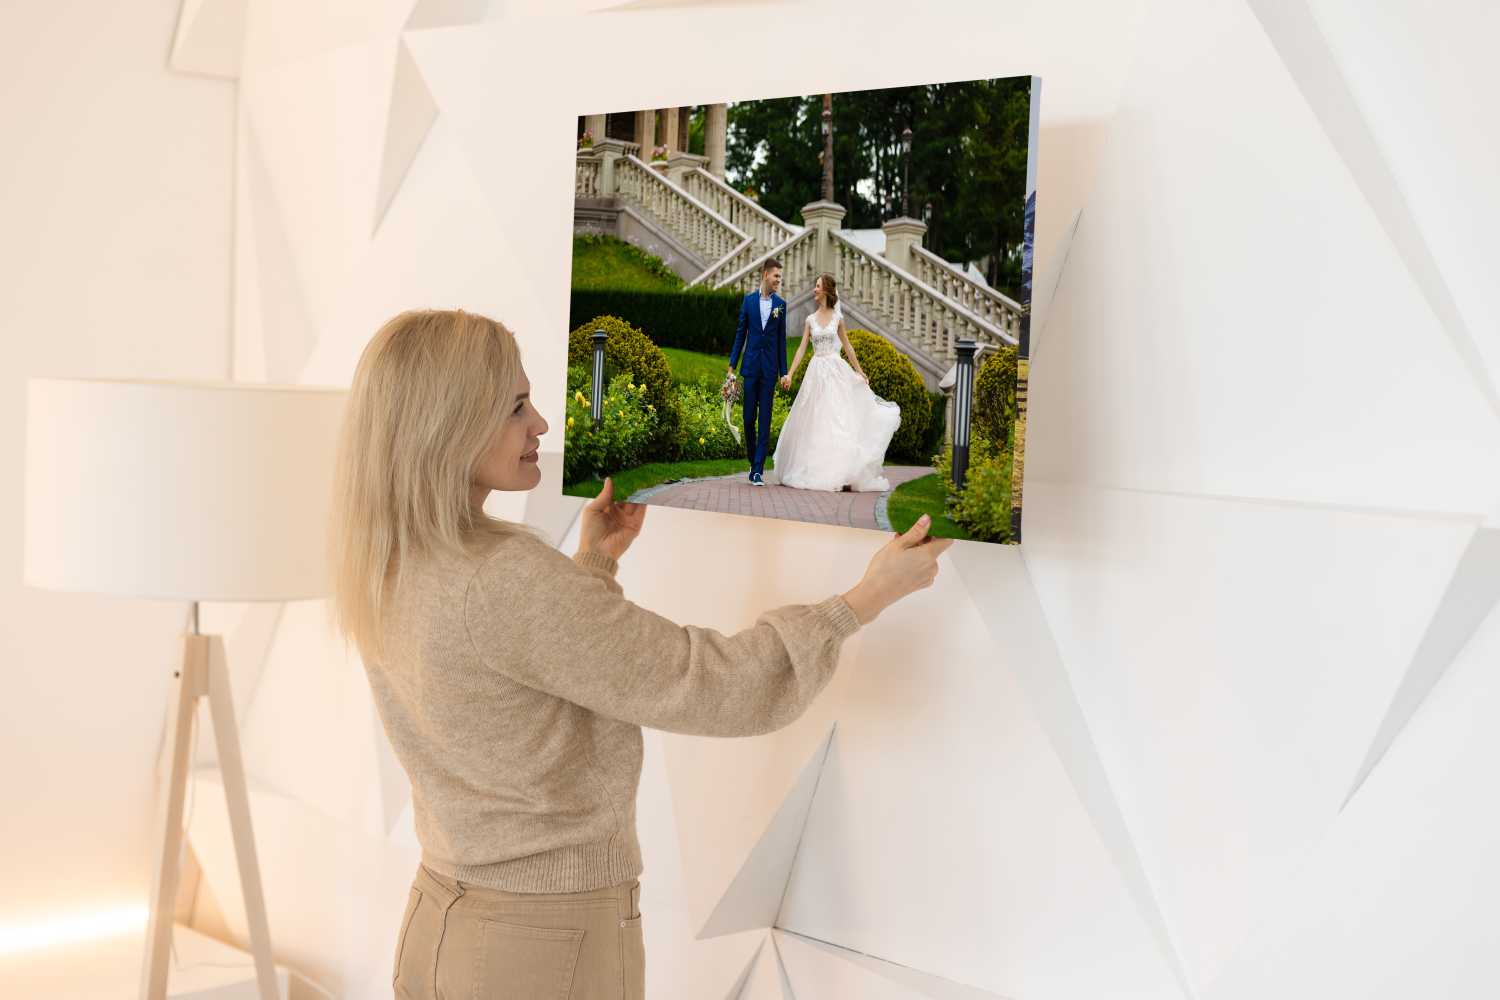
A custom photo wall is more than just home décor—it’s a personal gallery that tells your story. Whether it’s a collection of family memories, travel adventures, or your best artistic shots, a photo wall transforms blank, empty spaces into meaningful displays.

When designed using HD metal prints, your photo wall becomes a stunning, durable statement piece. The vibrancy, sleekness, and longevity of ChromaLuxe aluminum metal prints elevate your images far beyond what traditional paper or canvas can offer.

In this guide, we’ll walk you through how to create a beautiful custom photo wall using metal prints—from planning the layout to choosing finishes and installation tips.

Why Metal Prints are Perfect for Photo Walls

A woman hangs a Chromaluxe Metal Print of a bride and groom walking outdoors on a white, geometric-patterned wall. A floor lamp sits nearby, highlighting the stunning photo on metal. Prints 4 You

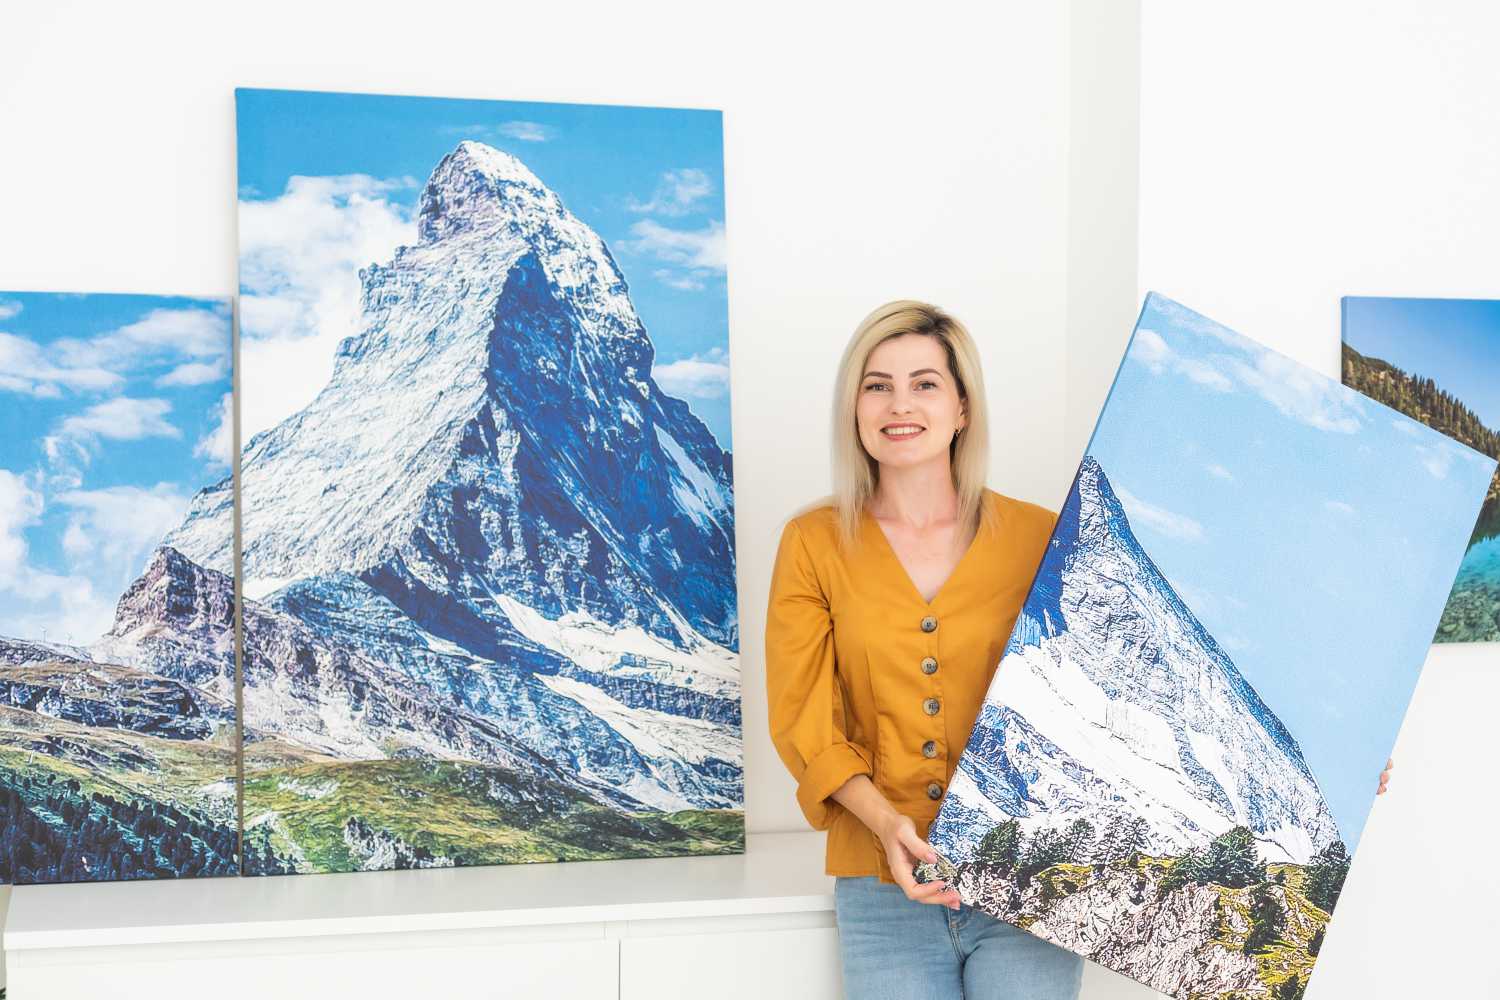
Before diving into design, let’s understand why metal prints are ideal for this project:

Vibrant Color & Depth: Metal prints, especially those made with dye sublimation on ChromaLuxe panels, offer unmatched color vibrancy and image clarity. The result is a bold, gallery-quality display that brings your photos to life.

Durability that Lasts: Unlike paper or canvas, metal prints are scratch-resistant, fade-resistant, and moisture-resistant. Perfect for high-traffic areas like hallways, living rooms, or even bathrooms.

Frameless Modern Aesthetic: With clean edges and a sleek, floating look, metal prints give your photo wall a contemporary feel that suits any décor style—whether minimalist, industrial, or eclectic.

Easy Maintenance: If you ever need to clean your metal prints, simply wipe with a soft cloth. No glass or special cleaning supplies needed.

Step 1: Choose Your Wall & Theme

A woman in a yellow top smiles while holding a canvas print of a snowy mountain landscape, standing beside larger Metal Photo Prints of mountain scenes displayed on a white wall. Prints 4 You

Selecting the Right Space

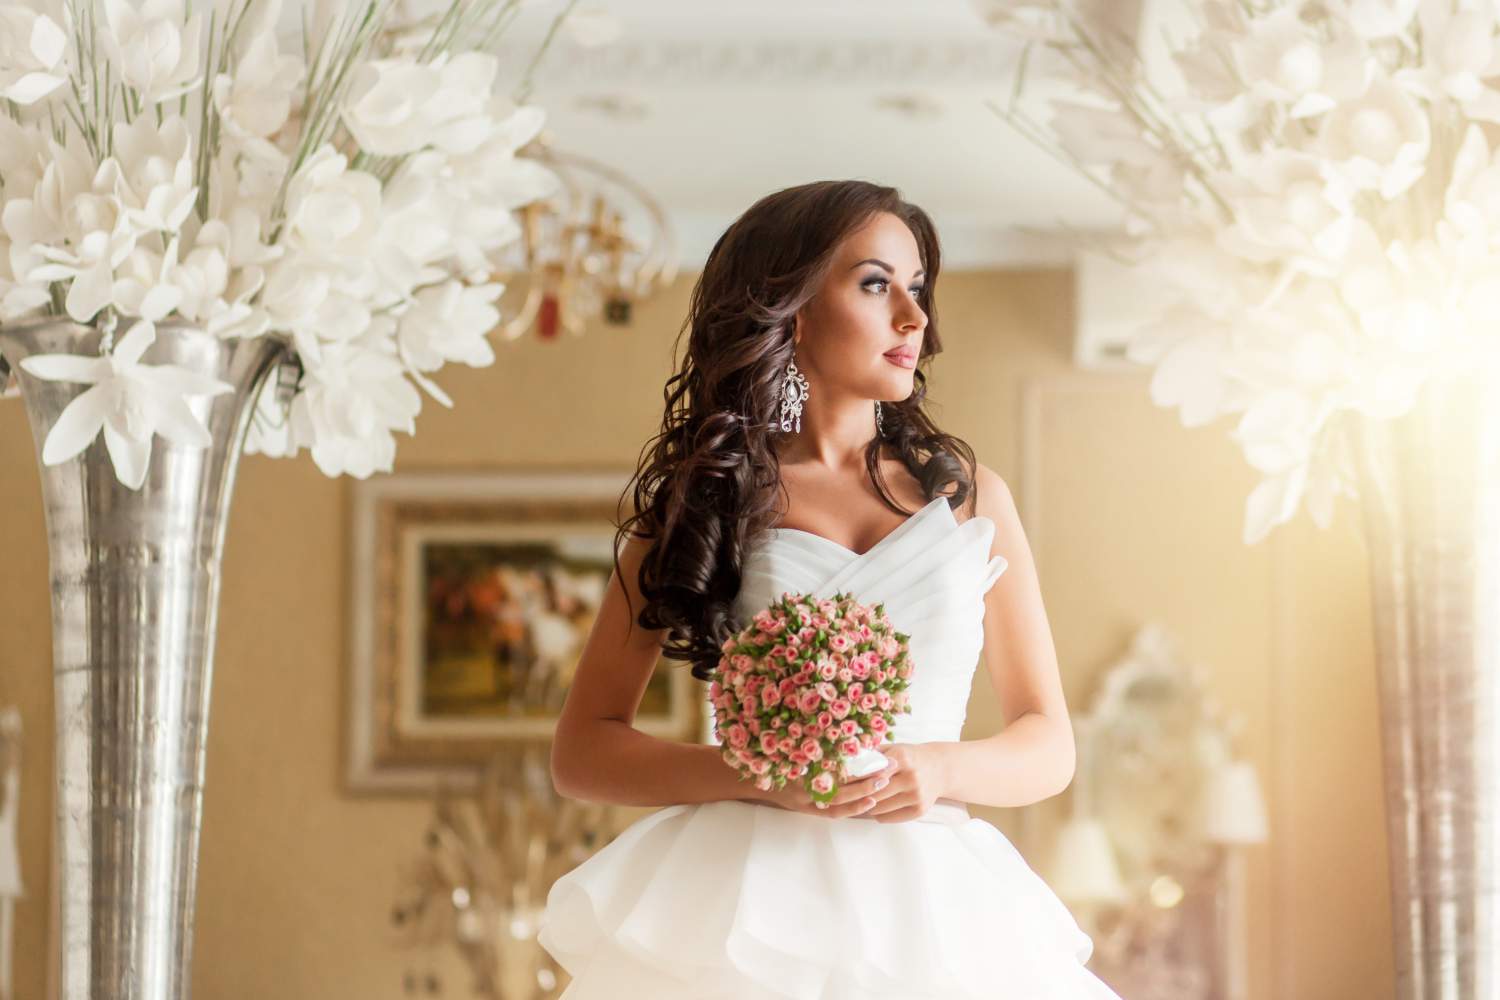
Start by identifying where your photo wall will go. Consider lighting (natural or artificial), wall color, and room purpose when choosing your space. Common spots include:

  • Living room feature wall
  • Hallway or staircase gallery
  • Bedroom accent wall
  • Office or creative studio space

Defining Your Theme

A cohesive theme ties your photo wall together- and choosing the right one helps guide your image selection and overall layout. Some popular ideas include:

  • Family Memories & Milestones
  • Travel Adventures & Landscapes
  • Pet Portraits & Candid Moments
  • Fine Art Photography
  • Seasonal or Rotating Displays

Step 2: Curate & Edit Your Photos

Select High Resolution Images:

For metal prints, image quality matters, so it is important to use high-resolution photos (300 dpi preferred) to ensure crisp details.

Maintain Consistent Aesthetics

If mixing color photos with black & white photos, be intentional. Consider using the same filter style, color tones, or editing presets for a unified look.

Pro Tip: Avoid images with very dark shadows for brushed aluminum prints, as they may lose subtle details. For a vibrant look, choose a white base panel.

Ready to order? Start customizing your metal prints today!

Step 3: Plan Your Layout

A modern living room with a blue wall, gray sofa, wooden coffee table with tulips, houseplants, and two vibrant Metal Photo Prints—a close-up of blue flowers and a field of red poppies and daisies at sunset. Prints 4 You

Gallery Grid, Salon Style, or Organic Flow?

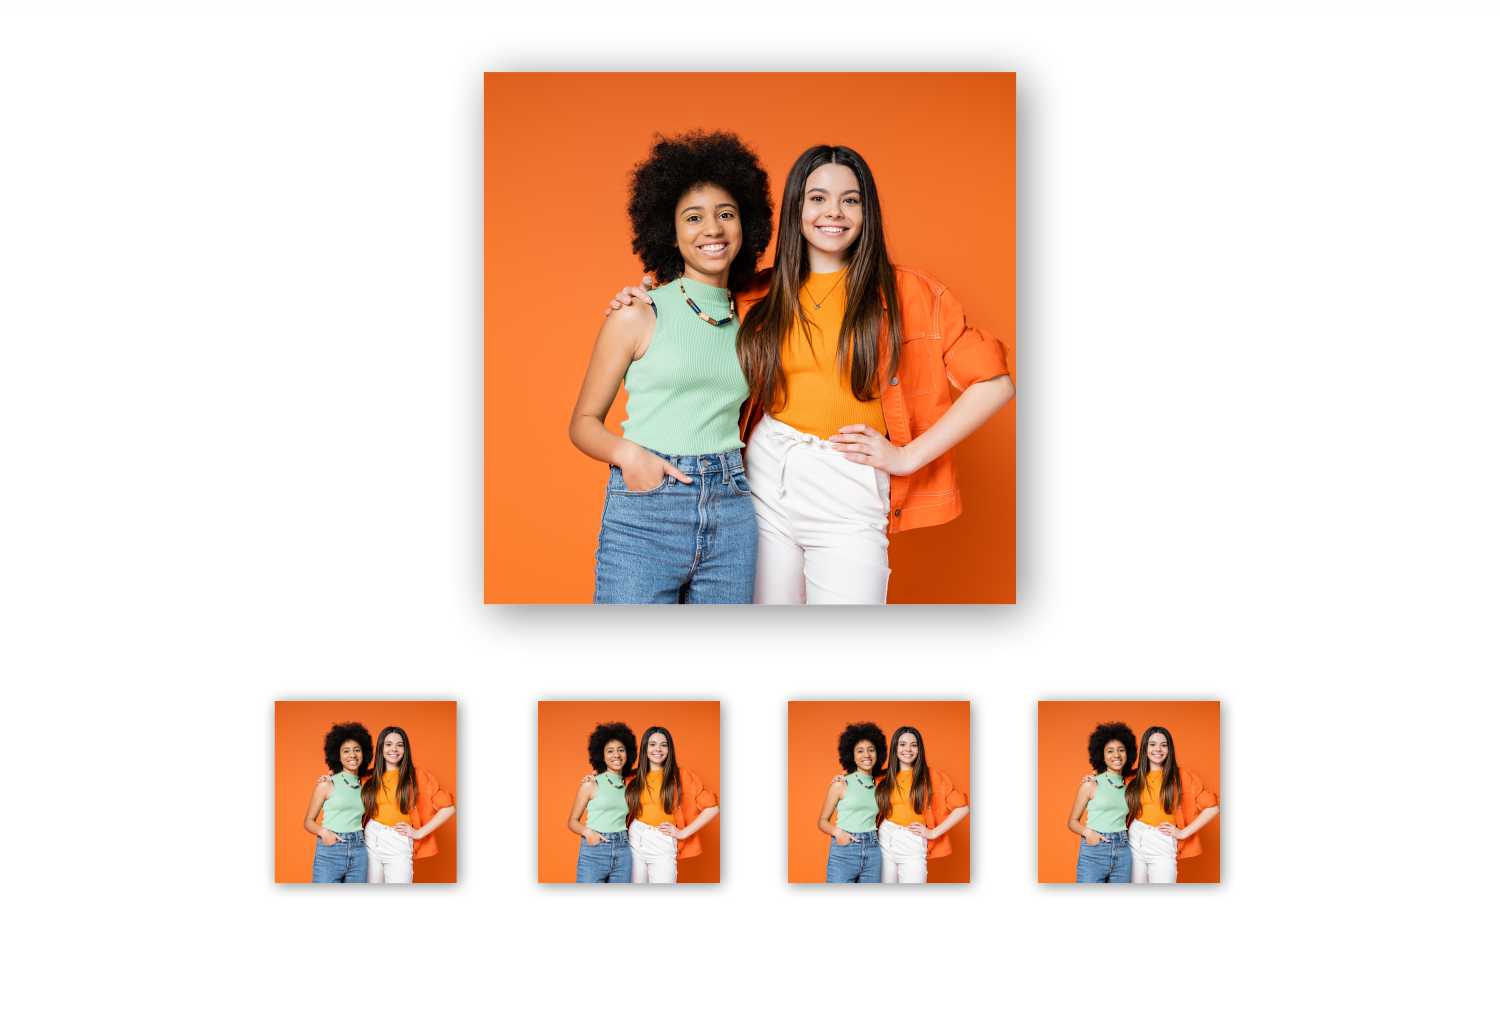
We recommend using painter’s tape on your wall or utilizing a digital tool to visualize the layout before committing to a layout. There are many ways to arrange your metal prints:

  • Grid Layout: Symmetrical, clean, modern.
  • Salon Style (Eclectic): Various sizes arranged organically.
  • Linear or Staircase Flow: Perfect for hallways or staircases.
  • Centerpiece Focused: Large central print with smaller supporting images.

Consider Spacing & Balance

  • Leave at least 2–4 inches between prints.
  • Maintain visual balance—distribute larger prints evenly.
  • Align edges for a polished look, even with mixed sizes.

Step 4: Choose Your Metal Print Sizes & Finishes

Two young women stand side by side smiling, one with curly hair in a green top and jeans, the other with straight hair in an orange shirt and white pants, against an orange background. Four smaller copies of this image showcase stunning Metal Photo Prints. Prints 4 You

Sizing for Impact

Start off by getting the measurements of your wall. Large walls benefit from bigger prints, such as 11″ x 14″, 16″x20″ or 20″x30″, while smaller spaces may suit a series of 5″ x 7″ or 8″x10″ prints.

Selecting the Right Finish

Metal prints offer a wide range of finishes to fit any style. For gallery walls with diverse images, white base with satin or semi-gloss offers a versatile, timeless finish. However, other options may look better depending on the space:

  • Glossy: Vibrant, reflective, best for bright, colorful photos.
  • Semi-Gloss (Satin): Balanced, with reduced glare.
  • Matte: Soft, non-reflective, perfect for subtle or moody images.
  • Brushed Aluminum Base: Creates a unique metallic sheen where lighter image areas reveal the metal texture—best for artistic or industrial aesthetics.

Step 5: Ordering Your Metal Prints

At Prints 4 You, ordering custom metal prints is simple and can be completed in a few simple steps. Most orders ship in 1–3 business days from our Long Island, NY facility.

  1. Choose your product type (Single Metal Prints, Bundles, Smartphone Sizes).
  2. Select size, orientation, and finish for each print.
  3. Upload your images directly to the product page.
  4. Preview and adjust quantities in your cart.
  5. Place your order—we’ll handle the rest.

Step 6: Installation Tips for a Flawless Display

A woman hangs a Chromaluxe Metal Print of a bride and groom walking outdoors on a white, geometric-patterned wall. A floor lamp sits nearby, highlighting the stunning photo on metal. Prints 4 You

Mounting Options

  • Float Mounts: Gives a “floating off the wall” appearance.
  • Standoff Hardware: Adds a dimensional, gallery-style effect.
  • Standard Wall Hangers: Simple and secure for larger prints.

Installation Best Practices

  • Use a level and measuring tape for precise alignment.
  • For heavier prints, ensure wall anchors are used.
  • Lay out prints on the floor first to visualize spacing.
  • Enlist a second person for larger walls to double-check positioning.

Pro Tip: For renters or temporary displays, consider removable adhesive wall mounts rated for picture hanging.

Step 7: Refresh & Rotate Over Time

One of the best things about metal prints is their longevity. But you don’t have to stick with the same layout forever! Plan ahead for future additions with modular layouts that are easy to expand. You can continuously refresh your photo wall with:

  • Seasonal photo swaps
  • New travel memories
  • Updated family portraits
  • Artistic series or limited editions

Ready to Start Your Metal Print Photo Wall?

Creating a custom photo wall with metal prints is a rewarding way to showcase your favorite moments in a durable, elegant, and eye-catching format. With a little planning and the right materials, you can turn any blank wall into a personal gallery you’ll enjoy every day.

At Prints 4 You, we specialize in premium ChromaLuxe metal prints, crafted with care and shipped fast nationwide. From single prints to full gallery walls, we’re here to help you bring your vision to life.

Start designing your custom photo wall today!

Leave a Reply

Your email address will not be published. Required fields are marked *